With the help of the right plugins, WordPress can be used as a Content Management System (CMS), an eCommerce platform, and much more. But at its heart, WordPress makes for one of the most powerful website frameworks around. With it, you can create blog posts, pages, image galleries, polls… nearly anything you or your business demand. Of course, you have to know how to take advantage of all that. With the release of WordPress 5, how you create a blog entry drastically changed. In fact, posting a blog entry with the WordPress 5 editor is unlike any other web-based tool you’ve used. For anyone who’s used WordPress prior to version 5, logging into the WordPress Admin Panel will be an eye-opening experience. It is known as WordPress Block Editor ‘Gutenberg’.
Since there’s been some confusion as to how to use it, I want to show you how to create a blog entry with the new WordPress Block Editor ‘Gutenberg’. Once you understand how the process works, you’ll find it’s actually quite easy.
What You’ll Need
The only thing you’ll need to make this happen is a WordPress account. It can be one from the free WordPress.com site or you can use self-hosted WordPress, one from your third-party hosting service (even if it is managed or developed by offshore software testing), one from a WordPress instance hosted in your company data center, or even one from your stand-alone server at home. With that account ready to go, let’s create a new blog post.
Creating A Post with WordPress Block Editor – Gutenberg
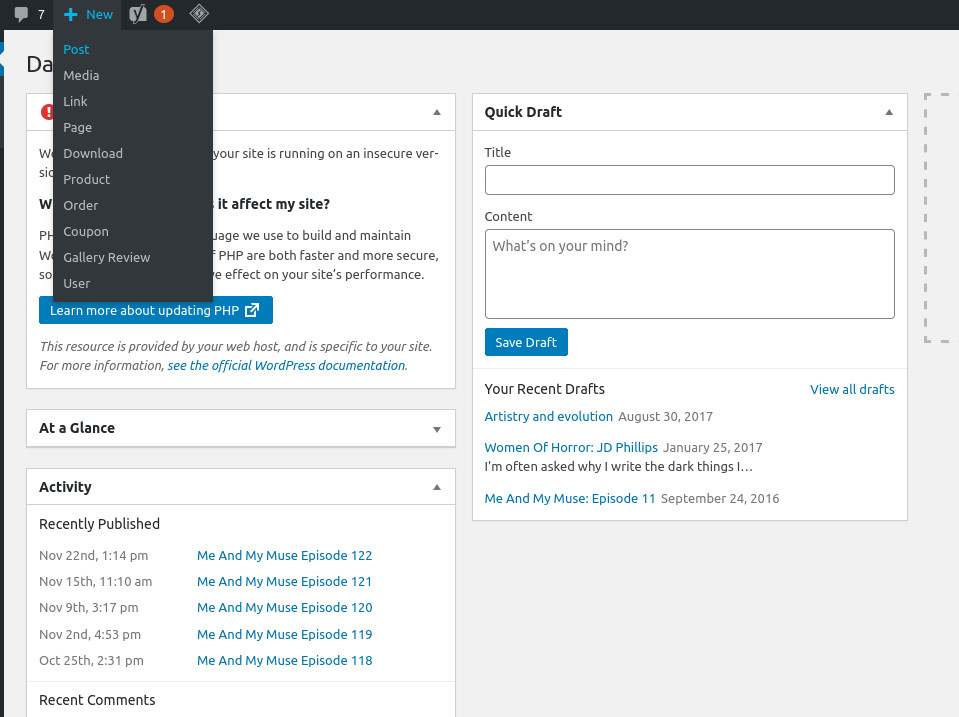
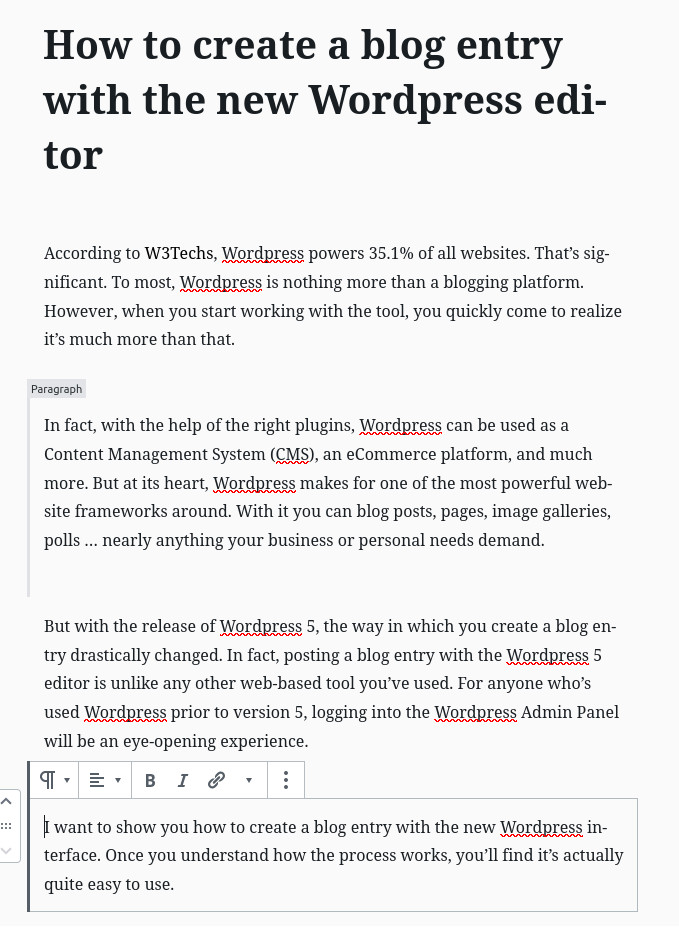
When you log into the WordPress administration panel (usually found at http://DOMAIN/wp-admin – where DOMAIN is the name of the server hosting your WordPress account), you’ll be greeted by the Dashboard (Figure 1). The WordPress Dashboard. To create a new blog entry, click the + button directly to the left of New (at the top of the window). From the drop-down (Figure 2), click Post. The New drop-down menu. The resulting window (Figure 3) will not look like any web-page editor you’ve used before. The new WordPress post editor. The new post editor treats everything as a block. Blocks are blank structures that can become one of the following options:
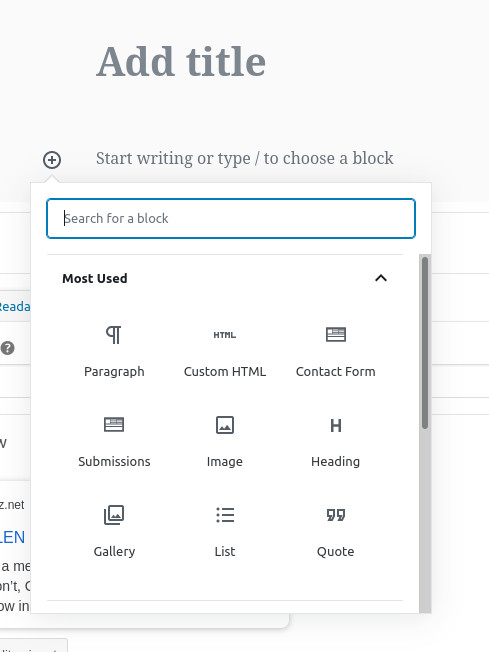
Paragraph Custom HTML Contact Form Submissions Image Heading Gallery List Quote
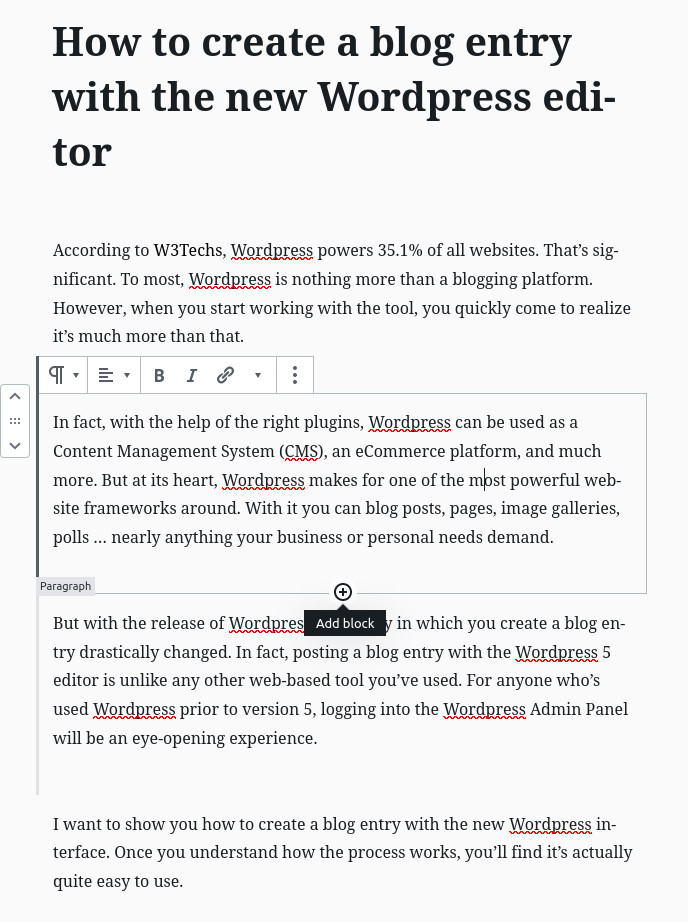
So instead of using a single text area, where you write your full post and then format each section, you create the post block by block. The first thing to do is to add a title block. This is simple, as it is the default block on a post. To do this, click where it says Add title and type a title for your entry. With the title out of the way, you’ll want to add your next block. Click the + button under your title and select the type of block you want to add (Figure 4). Adding a new block. Let’s say you’re ready to dive right into writing the meat of the blog post. From the drop-down, select Paragraph (which is the default “next block” after the title). Start typing the text for your entry. You can either copy/paste the content into the paragraph block, or write it directly into the block. As you write, the editor will pick up on your cues. For example, when you hit Enter, the editor will see that as a new paragraph (Figure 5). Pasted content shown as paragraphs. Click anywhere in a paragraph, and you can then format the text to meet your needs. You can also add new blocks between your paragraphs. Say, for instance, you need to add an image between the second and third paragraphs. To do that, hover your cursor between those paragraphs to reveal a hidden + button (Figure 6). Adding a block between paragraphs. Click the + button, select Image from the drop-down, and then upload your image.
Post Settings
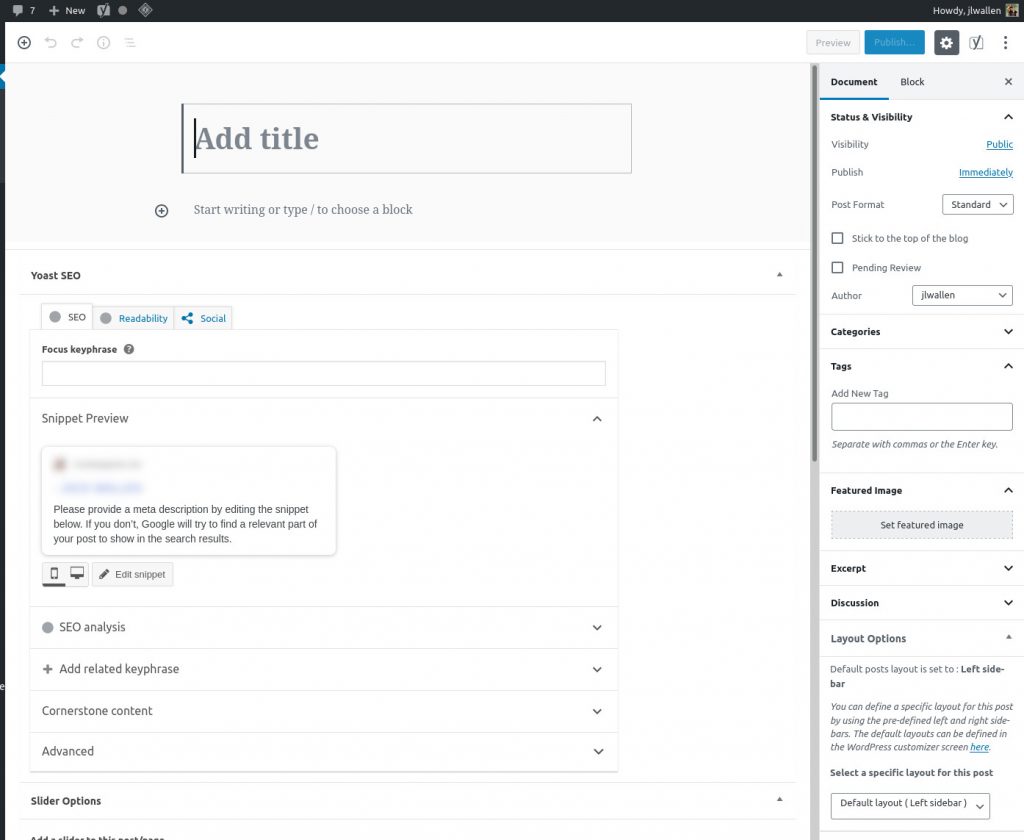
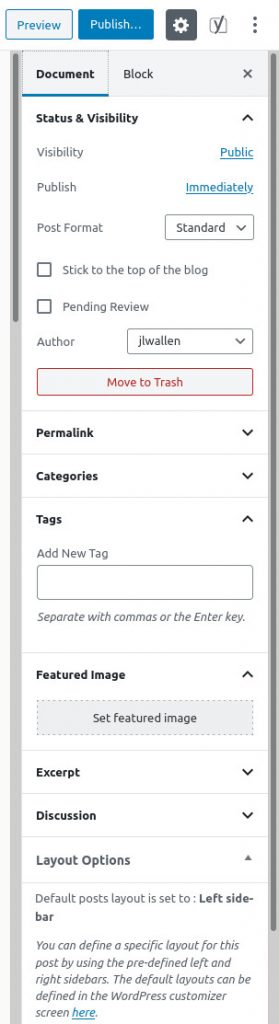
After you’ve completed writing the post, you need to take care of a few settings. In the right sidebar, click the Document tab. In this section (Figure 7), you’ll want to take care of things like:
Publish – allows you to post your entry or schedule its publication for a future date. Categories – allows you to associate the post with a category. Tags – allows you to add one or more tags to the post. Featured Image – allows you to add a featured image (which will appear at the top of the post).
Once you’ve taken care of these options, click Preview to see how the post will look like, or click Publish to save and publish the post. And that’s all there is to create a blog entry with the new WordPress Block Editor ‘Gutenberg’. It may feel foreign at first, but once you get the hang of it, you’ll find it more intuitive and user-friendly than previous iterations.